Related Topics
Nodejs Modules
Lesson 3 – Modules in Node.js


Welcome to the enlightening world of Node.js modules! In this lesson, we'll unravel the power of modules, a cornerstone of Node.js development, and explore both core and custom modules, delving into their functionalities and practical applications.
3.1 Core Modules
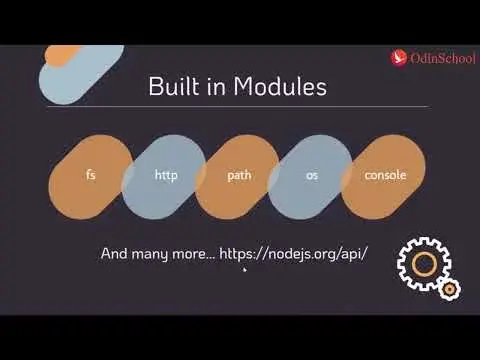
Node.js comes equipped with a treasure trove of core modules that streamline various tasks. In this section, we will unravel the mysteries of the File System and HTTP modules, discovering their capabilities and real-world use cases.
3.1.1 File System Module: Unleashing File Operations
Working with the 'fs' Module:
- The 'fs' (File System) module is a crucial tool for performing file operations in Node.js.
- It provides a plethora of functions for interacting with the file system.
Examples of File Operations:
```javascript
const fs = require('fs');
// Reading a file
fs.readFile('example.txt', 'utf8', (err, data) => {
if (err) throw err;
console.log('File content:', data);
});
// Writing to a file
fs.writeFile('newFile.txt', 'This is a new file!', (err) => {
if (err) throw err;
console.log('File written successfully.');
});
// Manipulating files
fs.rename('oldFile.txt', 'newFile.txt', (err) => {
if (err) throw err;
console.log('File renamed successfully.');
});
```
Key Takeaways:
- `readFile`: Reads the content of a file asynchronously.
- `writeFile`: Writes content to a file asynchronously.
- `rename`: Renames a file asynchronously.
3.1.2 HTTP Module: Crafting Powerful Servers
Introduction to the 'http' Module:
- The 'http' module enables the creation of HTTP servers in Node.js.
- It simplifies the process of handling HTTP requests and responses.
Creating a Basic HTTP Server:
```javascript
const http = require('http');
const server = http.createServer((req, res) => {
res.writeHead(200, {'Content-Type': 'text/plain'});
res.end('Hello, Node.js HTTP Server!');
});
const PORT = 3000;
server.listen(PORT, () => {
console.log(`Server running at http://localhost:${PORT}/`);
});
```
Key Takeaways:
- `createServer`: Creates an HTTP server that handles requests.
- `writeHead` and `end`: Set response headers and send content to the client.
- `listen`: Binds the server to a specific port.
3.2 Custom Modules
Custom modules are the building blocks of modular and organized Node.js applications. In this section, we'll guide you through the process of creating custom modules, allowing you to enhance code maintainability and reusability.
3.2.1 Building a Custom Module: Your Code, Your Rules
Steps to Create a Custom Module:
- Create a new JavaScript file (e.g., `myModule.js`).
- Define functions or variables within the file.
- Export the functionalities using `module.exports`.
Example of a Custom Module:
```javascript
// 'myModule.js'
const greeting = () => {
console.log('Hello from myModule!');
};
module.exports = greeting;
```
```javascript
// 'main.js'
const myModule = require('./myModule');
myModule(); // Output: Hello from myModule!
```
Key Takeaways:
- Modularizing code enhances maintainability and encourages code reuse.
- The `module.exports` statement exports functionalities from one module to another.
3.2.2 Modularizing a Simple Application: Code Organization for the Win
Refactoring into Modular Components:
- Identify distinct functionalities within your application.
- Create separate modules for each functionality.
- Import and utilize these modules in your main application.
Demonstrating the Advantages of Modularization:
- Improved Readability: Modularization makes it easier to understand and navigate through your codebase.
- Easier Maintenance: Updates and modifications are more straightforward when code is organized into manageable modules.
- Code Reusability: Modules can be reused across different projects, saving time and effort.
Example:
```javascript
// 'calculator.js'
const add = (a, b) => a + b;
const subtract = (a, b) => a - b;
module.exports = { add, subtract };
```
```javascript
// 'main.js'
const calculator = require('./calculator');
console.log(calculator.add(5, 3)); // Output: 8
console.log(calculator.subtract(10, 4)); // Output: 6
```
Key Takeaways:
- Each module focuses on a specific functionality.
- The main application imports and utilizes these modules for enhanced organization.
Conclusion
Congratulations! You've now unlocked the secrets of Node.js modules, both core and custom. Armed with this knowledge, you're ready to build scalable and organized applications. In the next modules, we'll delve into advanced topics, empowering you to harness the full potential of Node.js. Stay tuned, keep coding, and embrace the modular way!

